SQL Server Integration Services 2012 comes with a new API for scripting packages which is called MOM – Managed Object Model. This API is accessed through the Microsoft.SqlServer.Management.IntegrationServices.dll assembly file. However, when you create an SSIS 2012 project/package using Visual Studio 2010, the assembly file is missing.
In this post, I will show you one of the ways of loading the assembly into project.
Requirements
We begin by launching Microsoft Visual Studio and create a new Integration Services Project which is located under Business Intelligence Projects category.
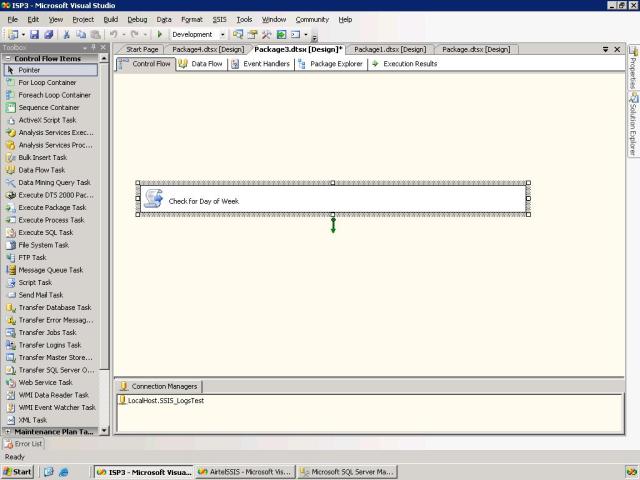
After you have assigned a project name, proceed to click and drag the Script Task into Control Flow pane from toolbox.
I have called the package “sS_LoadAssembly.dtsx” and the Script Task “Scripting SSIS 2012″ as shown below.

In Solution Explorer, right click the package “sS_LoadAssembly.dtsx” as shown below.

Click “View Code”
An XML file called “sS_LoadAssembly.dtsx[XML]” is opened
Take note of the elements under node “DTS:ObjectData” – there is currently a single element called “ScriptProject”

Let’s go back to the file called “sS_LoadAssembly.dtsx[Design"
Right click the script task and click on “Edit”
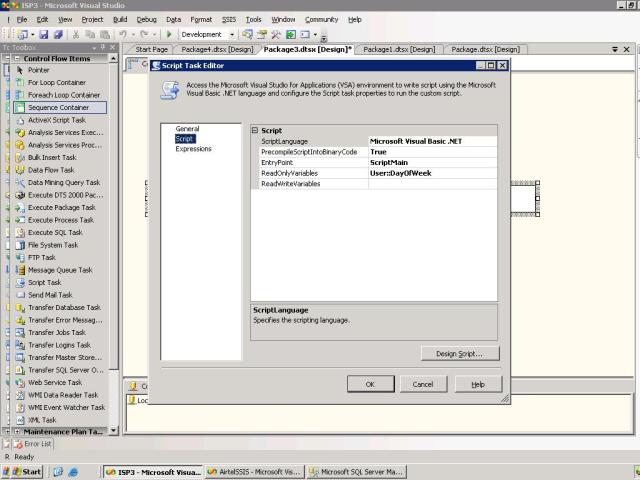
Under the Script Task Editor change the “ScriptLanguage” to “Microsoft Visual C# 2010".
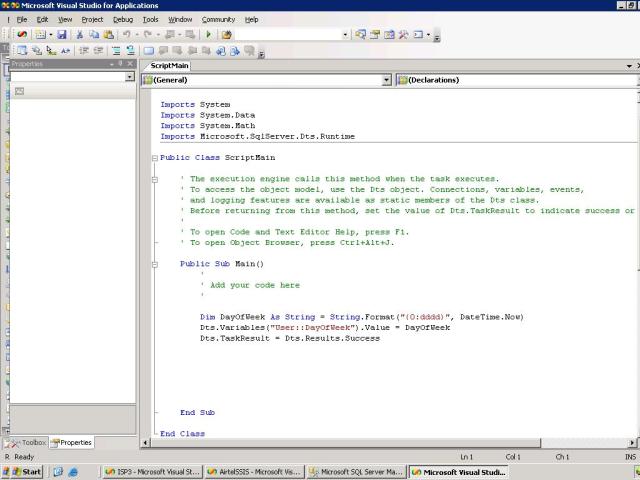
Click Edit Script.
Close the script.
Save the changes.
Go back to the "sS_LoadAssembly.dtsx[XML]” XML file.
You will notice that additional elements have been addedd under node “DTS:ObjectData”

We are interested in the node called “ItemGroup”
Let’s add a reference to the Microsoft.SqlServer.Management.IntegrationServices.dll assembly file as follows:

Save all changes.
Go back to the file called “sS_LoadAssembly.dtsx[Design”
Right click the script task and click on “Edit”
Click Edit Script.
Collapse “Namespaces”

Insert the following:
Now you can go ahead and access the new API for scripting SSIS 2012.
In this post, I will show you one of the ways of loading the assembly into project.
Requirements
We begin by launching Microsoft Visual Studio and create a new Integration Services Project which is located under Business Intelligence Projects category.
After you have assigned a project name, proceed to click and drag the Script Task into Control Flow pane from toolbox.
I have called the package “sS_LoadAssembly.dtsx” and the Script Task “Scripting SSIS 2012″ as shown below.

In Solution Explorer, right click the package “sS_LoadAssembly.dtsx” as shown below.

Click “View Code”
An XML file called “sS_LoadAssembly.dtsx[XML]” is opened
Take note of the elements under node “DTS:ObjectData” – there is currently a single element called “ScriptProject”

Let’s go back to the file called “sS_LoadAssembly.dtsx[Design"
Right click the script task and click on “Edit”
Under the Script Task Editor change the “ScriptLanguage” to “Microsoft Visual C# 2010".
Click Edit Script.
Close the script.
Save the changes.
Go back to the "sS_LoadAssembly.dtsx[XML]” XML file.
You will notice that additional elements have been addedd under node “DTS:ObjectData”

We are interested in the node called “ItemGroup”
Let’s add a reference to the Microsoft.SqlServer.Management.IntegrationServices.dll assembly file as follows:

Save all changes.
Go back to the file called “sS_LoadAssembly.dtsx[Design”
Right click the script task and click on “Edit”
Click Edit Script.
Collapse “Namespaces”

Insert the following:
- using Microsoft.SqlServer.Management.IntegrationServices;
Now you can go ahead and access the new API for scripting SSIS 2012.
